1. Creating & Scheduling Group Classes
Build and launch your interactive group sessions.
1
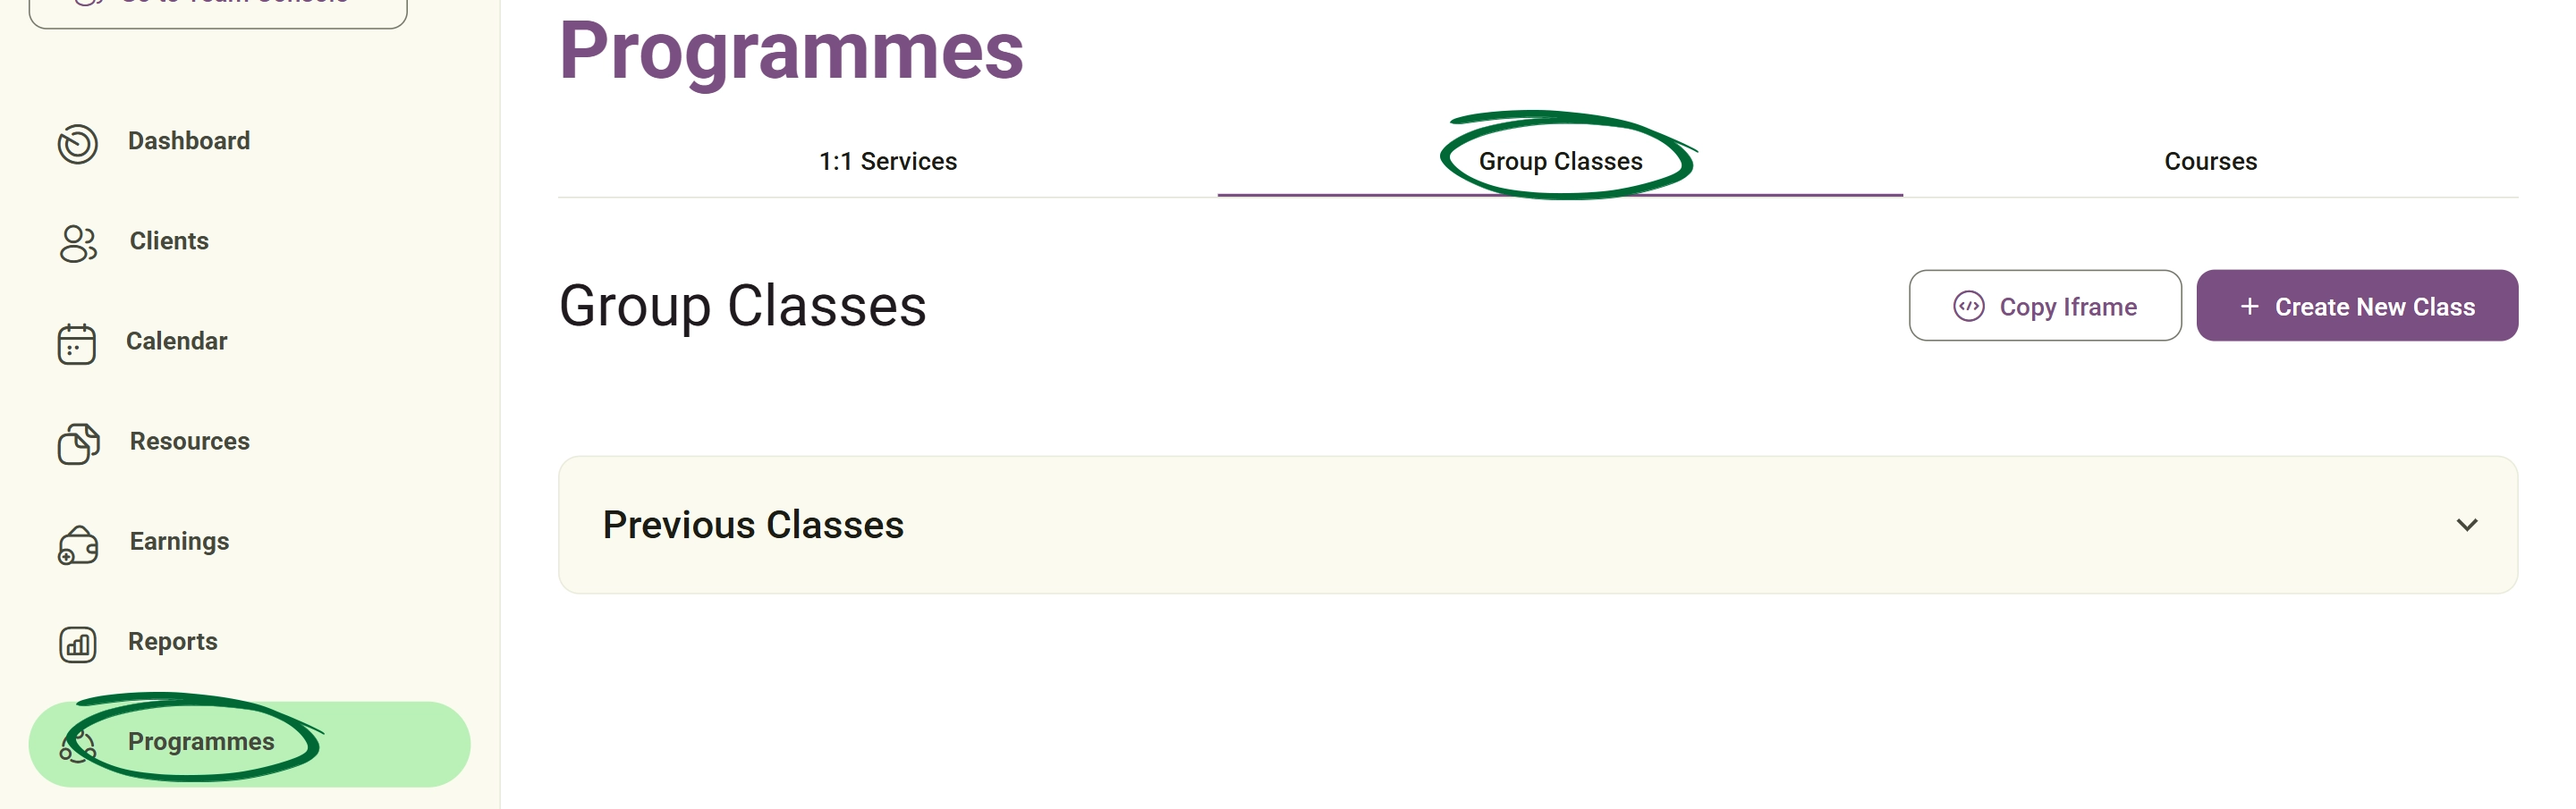
Open Group Classes
Navigate to Programmes → Group Classes from the sidebar.
2
Create New Class
Define your class title and a professional description.
3
Set Pricing
Choose between a Free or Paid model for the programme.
4
Define Sessions
Set the number of sessions, their specific duration, and the dates/times.
5
Select Location
Mark the class as Online (auto-generates a link) or Offline (specify a physical address).
Tip: Use the "Copy Class URL" feature to promote your upcoming sessions on social media or in your newsletters to drive bookings.
2. Attendee Management & Communication
Monitor your roster and engage with participants through integrated tools.
1
Manage Attendees
Open the attendee dashboard to view confirmed participants.
2
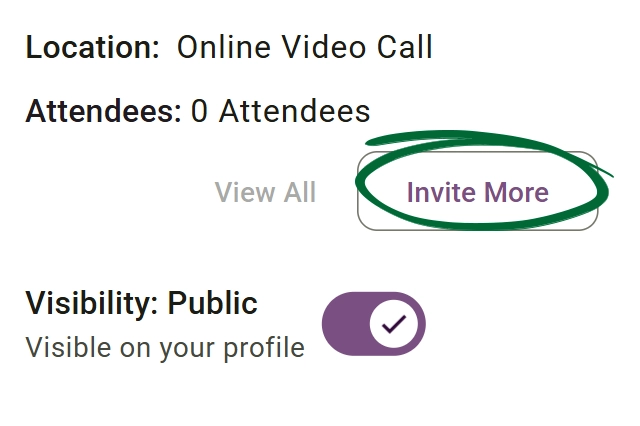
Invite Participants
Use the manual invite tool to add clients directly to the roster.
3
Open Chat Room
Select "Go to Chat Room" to communicate with the entire group simultaneously.
4
Monitor Progress
Track attendance and engagement throughout the duration of the programme.
Tip: Regularly check your attendee list to see who has confirmed, and use the "Invite" tool to follow up with clients who expressed interest but haven't booked yet.
3. Modifying & Archiving Classes
Keep your programme list organised by editing active classes or archiving completed ones.
1
Edit Sessions
Select an active class to Add, Delete, or Modify specific session times.

2
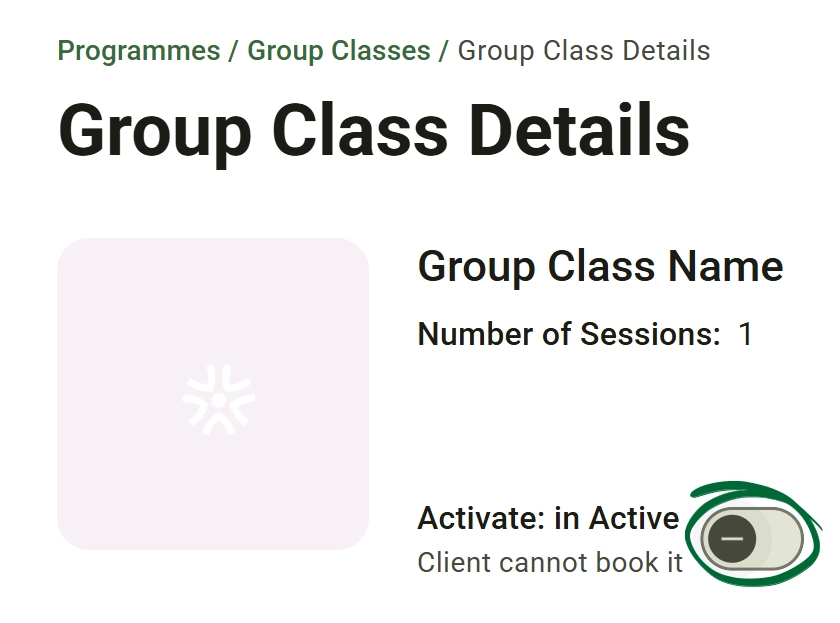
Archive Class
Once a programme is finished, select "in Active" to hide it from your main dashboard.
3
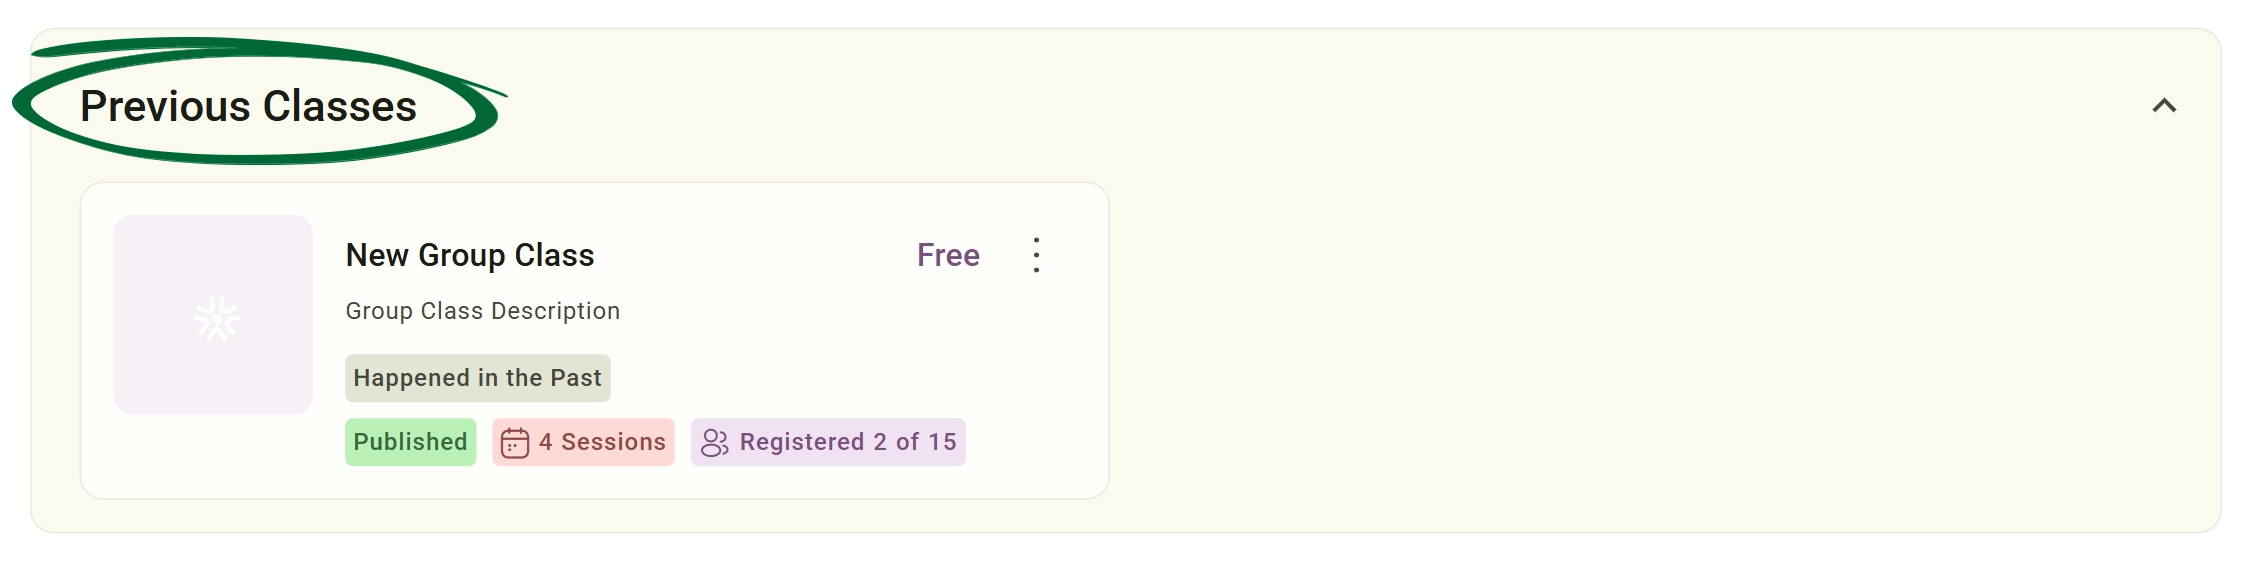
Review History
Access archived classes at any time to review chat transcripts or participant data.
Tip: Archiving a class instead of deleting it allows you to look back at the chat history and attendee list for future clinical auditing or program refinement.
Frequently Asked Questions (FAQs)
Is there a limit to how many attendees can join a group class?
You can set a "Capacity Limit" during the class creation process. Once this limit is reached, the class will automatically show as "Full" on your booking page.
Can I share files or handouts specifically with my group class?
Yes. You can use the Group Chat Room to share links or upload resources that only the participants of that specific class can access.
Do I need a separate Zoom or Teams account for online classes?
If you have integrated your preferred video conferencing tool in Settings, Nurish Pro will automatically generate and distribute the meeting links for every session in your class.
Troubleshooting & Common Issues
Issue: Need to change one session time only
Potential Solution: Navigate to the specific session within the class view and select Edit Session to update only that occurrence without affecting the rest of the series.
Issue: Cannot find a draft class
Potential Solution: Ensure you have selected the "View Upcoming & Draft Classes" filter at the top of your class list to reveal hidden drafts.
Issue: Attendee missing the joining link
Potential Solution: Resend the invitation directly from the Manage Attendees tab or copy the Class URL and send it to them via direct message.
Issue: Deleted a session by mistake
Potential Solution: Deleted sessions cannot be recovered. You will need to click Add Session to manually recreate the entry with the original details.
Issue: Reactivate an archived class
Potential Solution: Navigate to your Archive folder, select the desired class, and click "Restore" to move it back to your active list.
Next Step
Your offerings are live! To see how these look from your client's perspective, visit the Client Experience (Nurish Life App) guide.
Go to Client ExperienceContact Support
Still need a hand?
Email Support: [email protected]